Roman Shields
Roman soldiers: Auxiliary and Legionary
This activity is also available in PDF format which can be downloaded and printed out. Please click here
If you were a soldier in the Roman army, your shield would be very important to you. When you were fighting enemies armed with swords and spears, your shield offered much needed protection.
The Roman Army was divided into two different elements: the Auxiliaries and the Legionaries.
To be a Legionary soldier, you had to be a Roman Citizen. Legionaries were expected to fight, but they also built essential facilities such as forts, bridges, and roads.
Auxilia means help and so Auxiliary soldiers assisted the Legionaries by providing extra manpower and in particular specialised fighting techniques. They were non-Roman citizens, but received their citizenship after being a soldier for 25 years.
The
Legionary soldiers had curved rectangular shields whereas the
Auxiliary soldiers tended to have oval shaped shields.
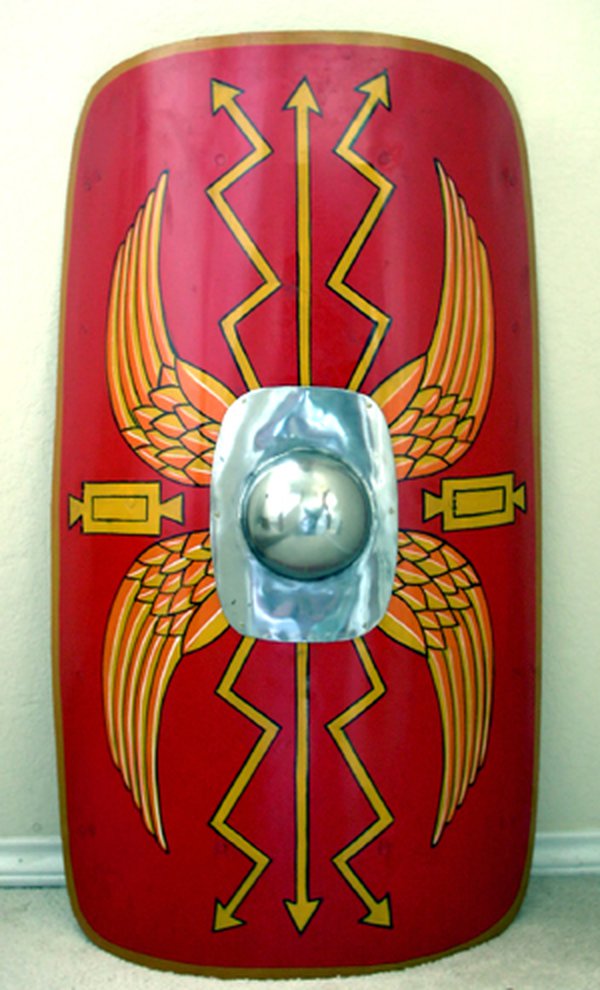
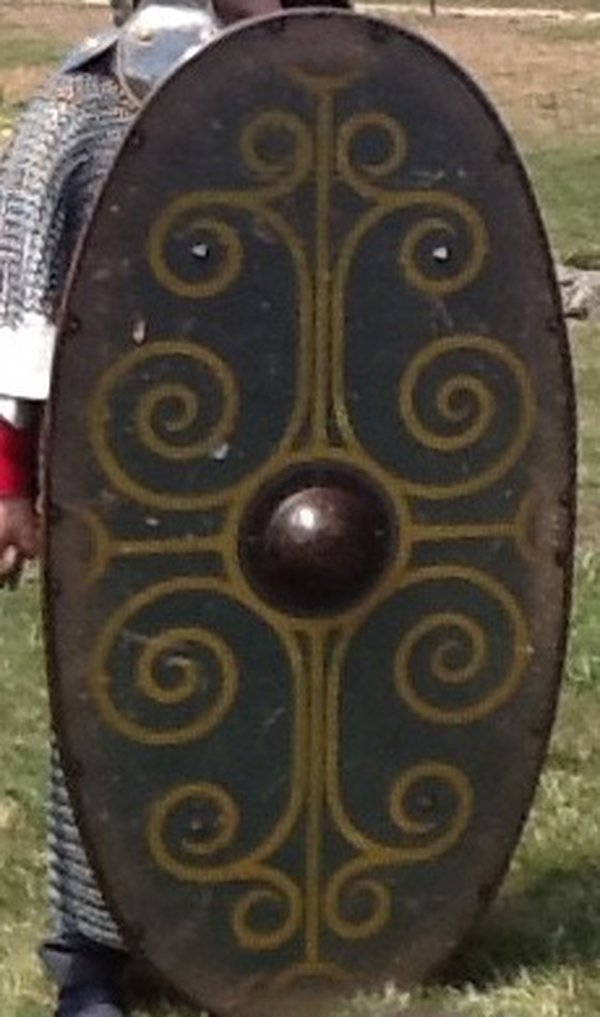
Both types of shields had bosses, a bulge on the front made out of iron or bronze to protect the hand holding the shield. Whether you were left or right-handed, shields were always held in the left hand when the soldier was fighting.
Roman
soldiers would paint their shields with something that was important
to them or to their unit.
Shield designs
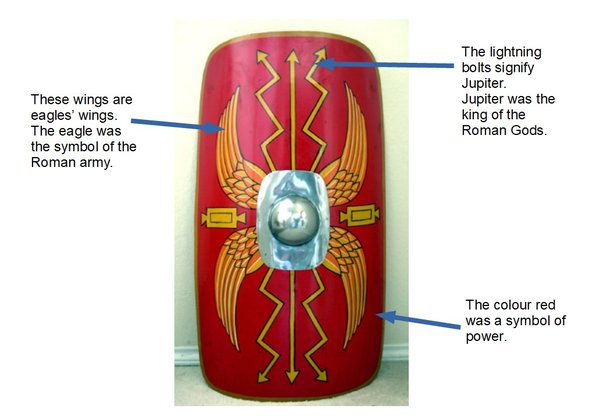
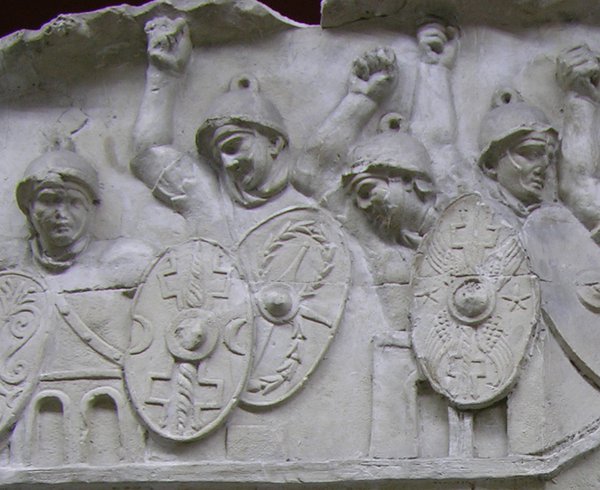
Below are some designs which soldiers had on their shields along with explanations on what they symbolised.
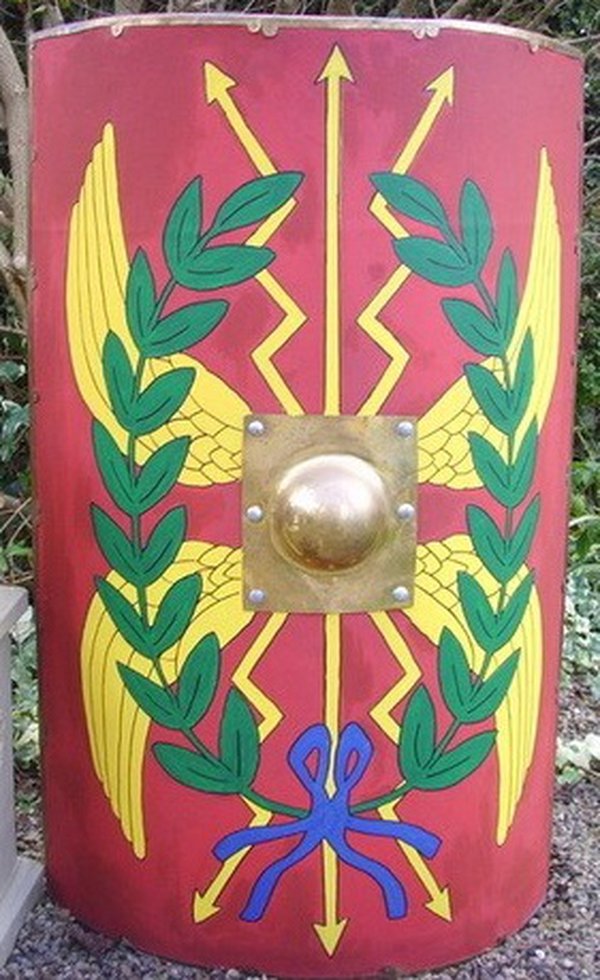
Some shields also had a wreath painted on them.
The wreath symbolises victory.
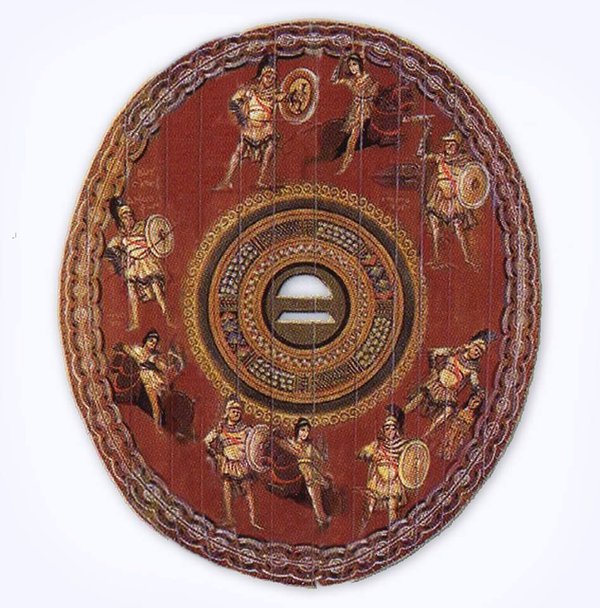
Shields also sometimes had scenes of myths or famous battles on them.
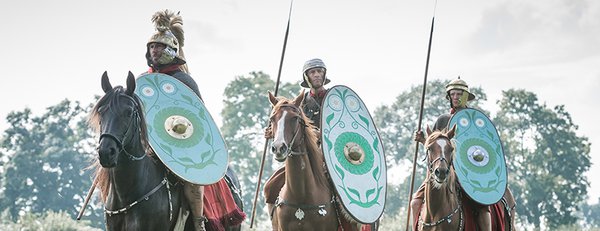
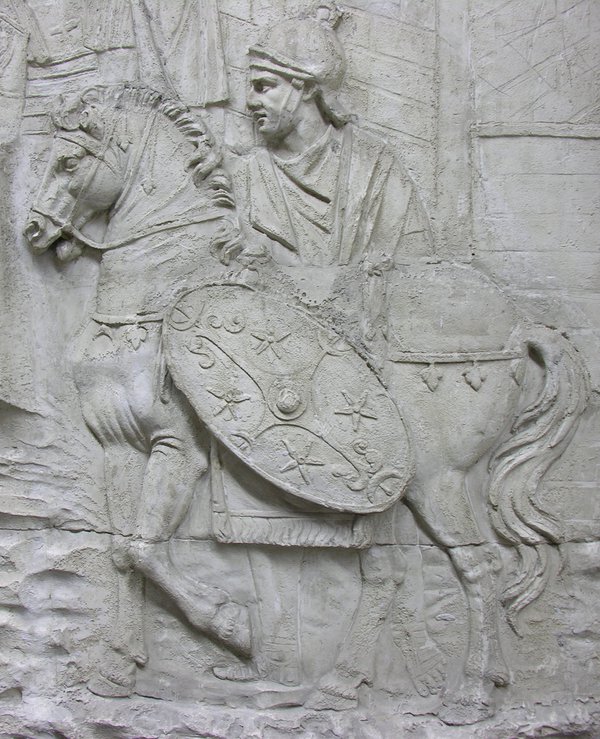
The soldiers who lived at Segedunum Fort were auxiliary soldiers. They carried oval-shaped shields.
Create your own shield design
Why not have a go at creating your own design for a shield below. Try and keep your design bold and simple (as you want your enemy to see it from afar).
Make a Roman soldier's shield - step-by-step
Can you use materials around your house to make your own auxiliary soldier’s shield?
You can use these pictures to help you.
You could use:
An old cardboard box flattened out (your shield can be any size!)
A paper or plastic cup, large lid from a tub, paper or foil plate or pie tray.
A small piece of tin foil or shiny sweet wrappers.
Glue and tape
Scissors
To decorate: Pens, paint, crayons, coloured paper, old comics or magazines, leaves or petals.
Step 1
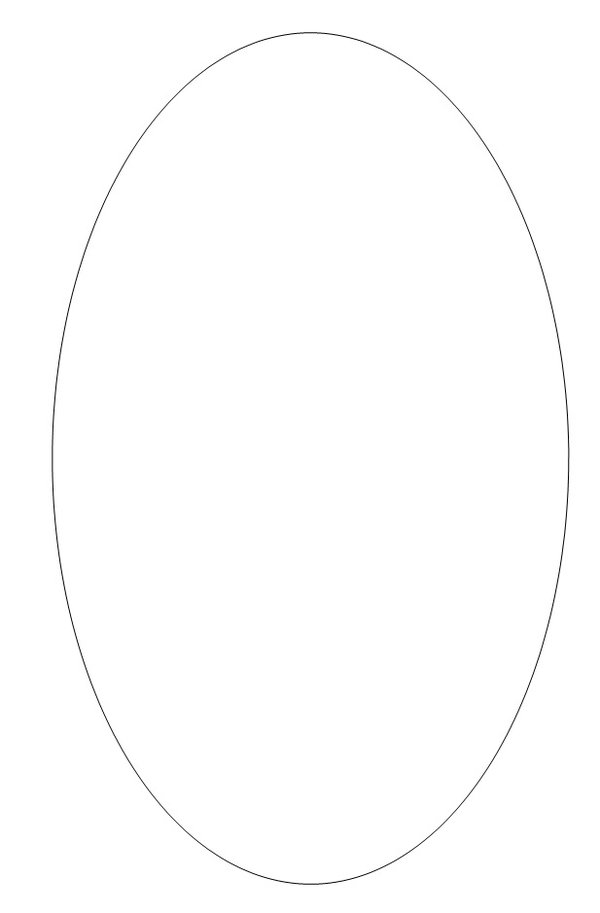
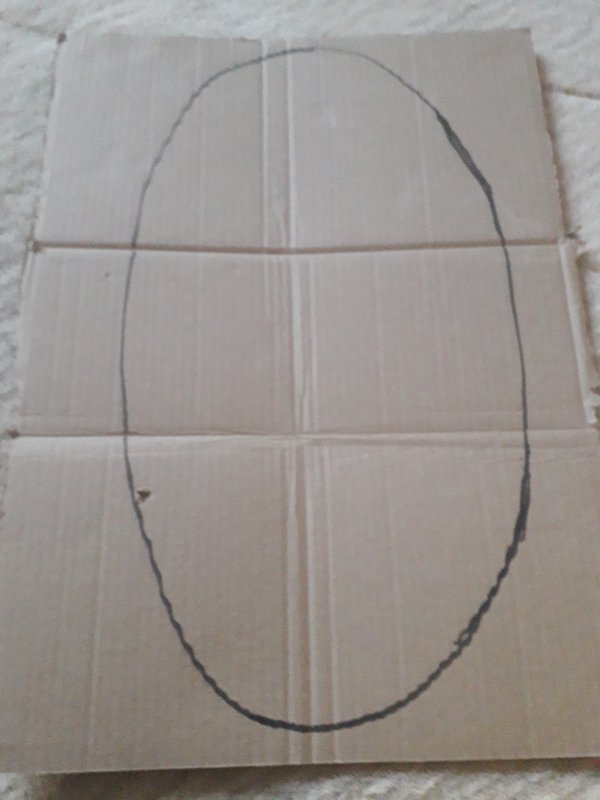
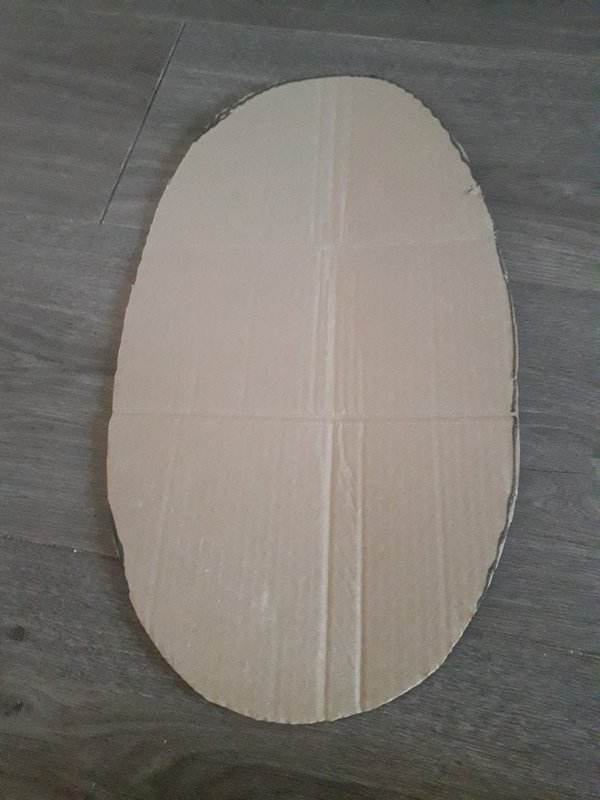
Draw a long oval shape onto your cardboard, then cut it out with scissors. You can make your shield as big or small as you like.
Step 2
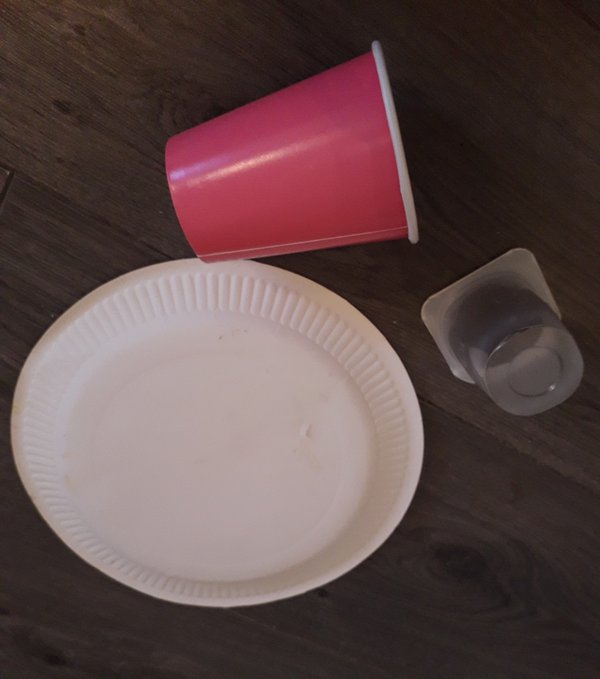
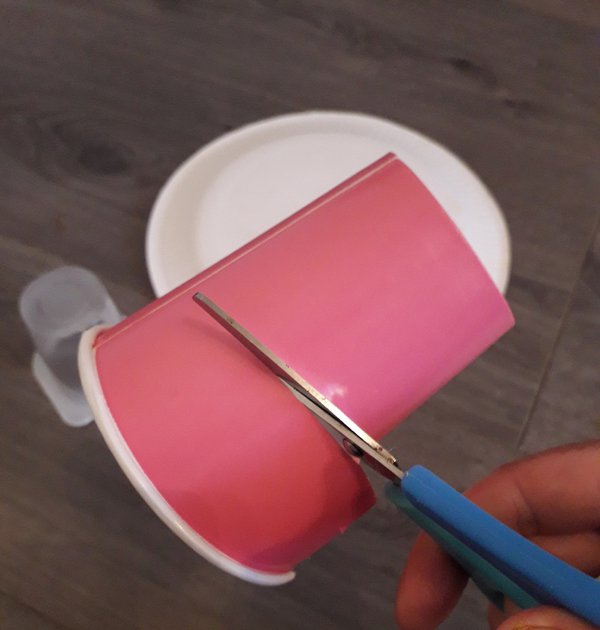
Find something to make the boss (the bit that sticks out in the centre of your shield). You could use a cup, yogurt pot, lid or paper plate. If you are using a pot or cup, you will only need the bottom part.
Step 3
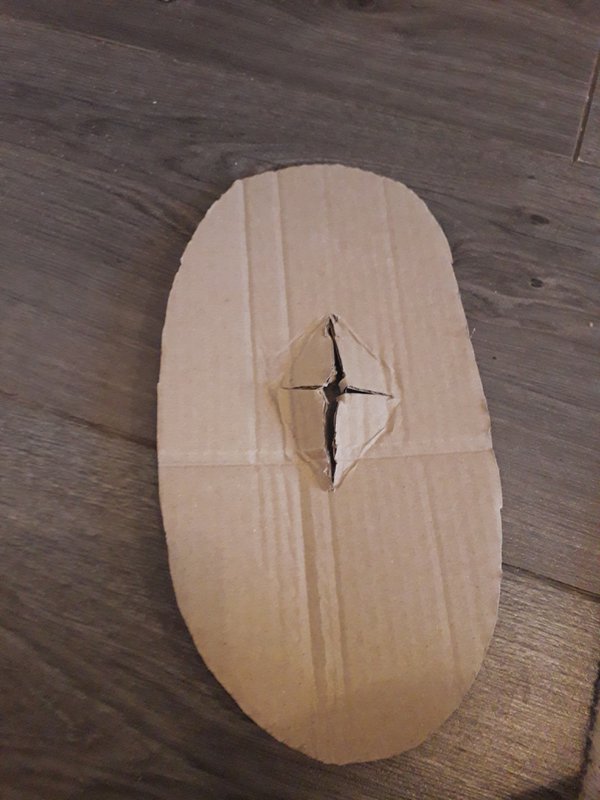
Cut a cross shape in the middle of your shield. Ask an adult for help with this part if you need it.
Step 4
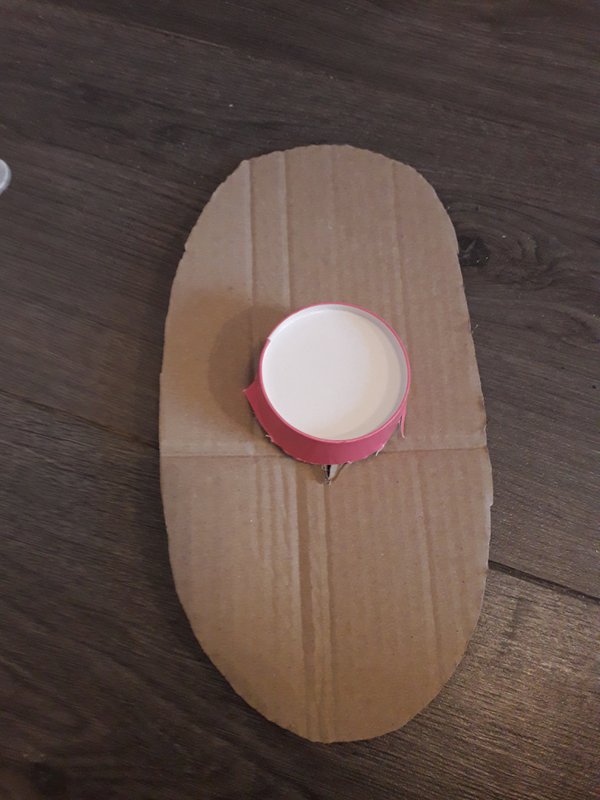
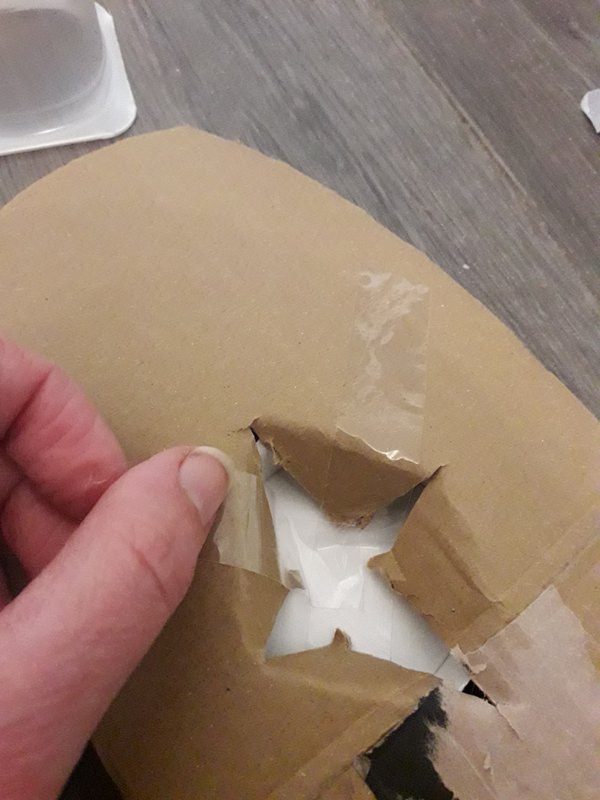
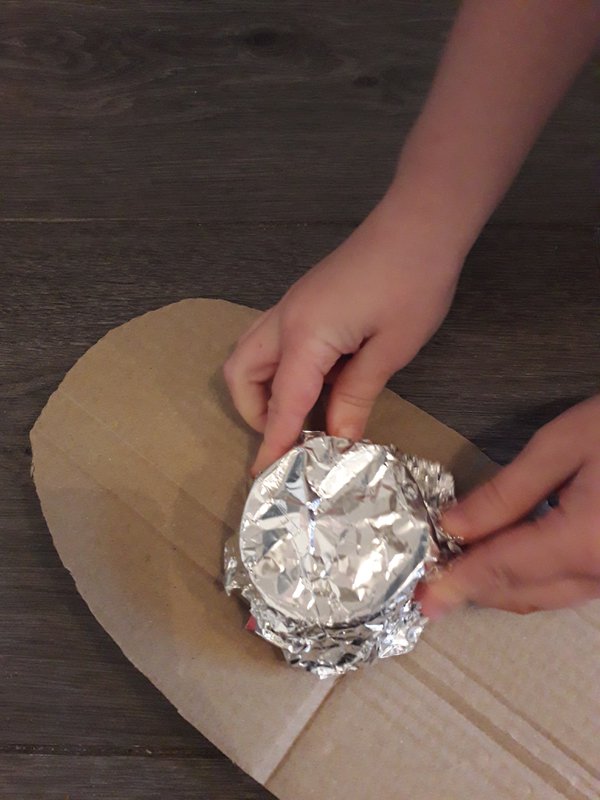
Place your boss in the middle of the shield, then turn your shield over and tape it in place.
Step 5
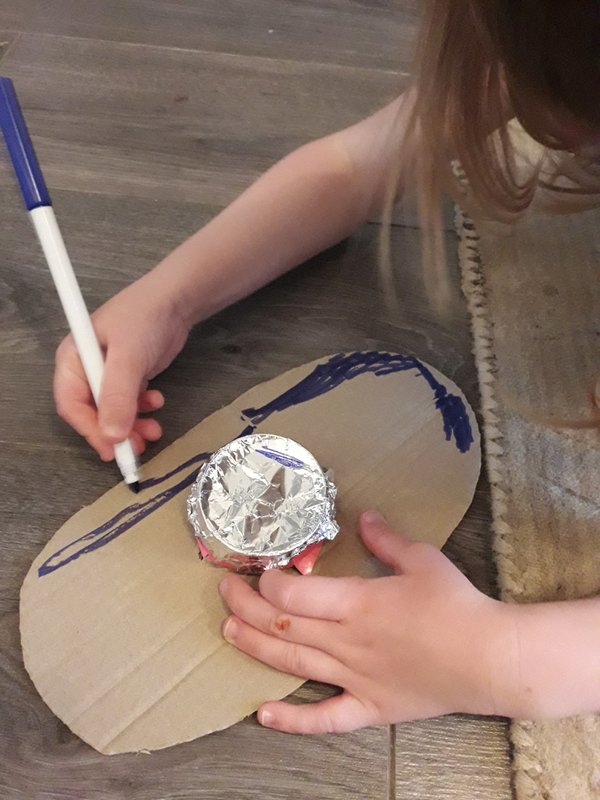
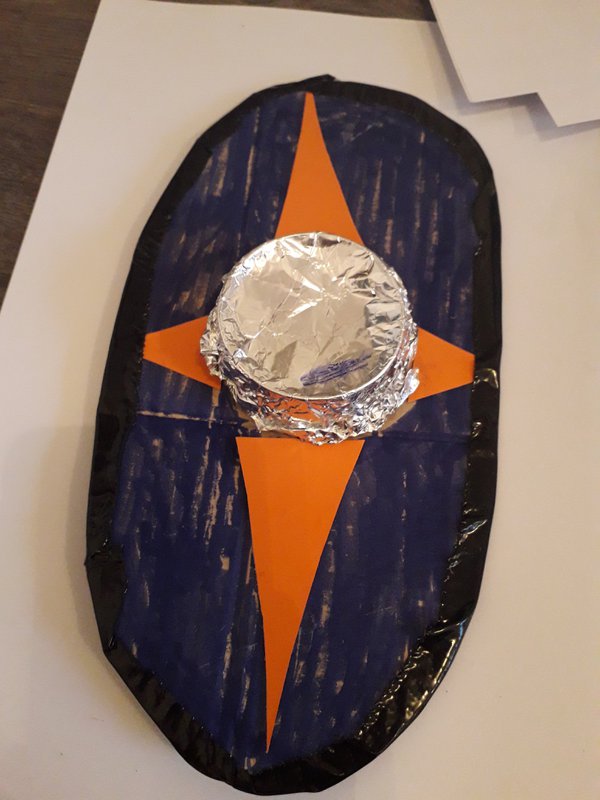
Cover your boss with tin foil or shiny paper, then have fun decorating your shield. You could use cut up comics or magazines to add shapes or collect leaves from outside to make a pattern.
Step 6
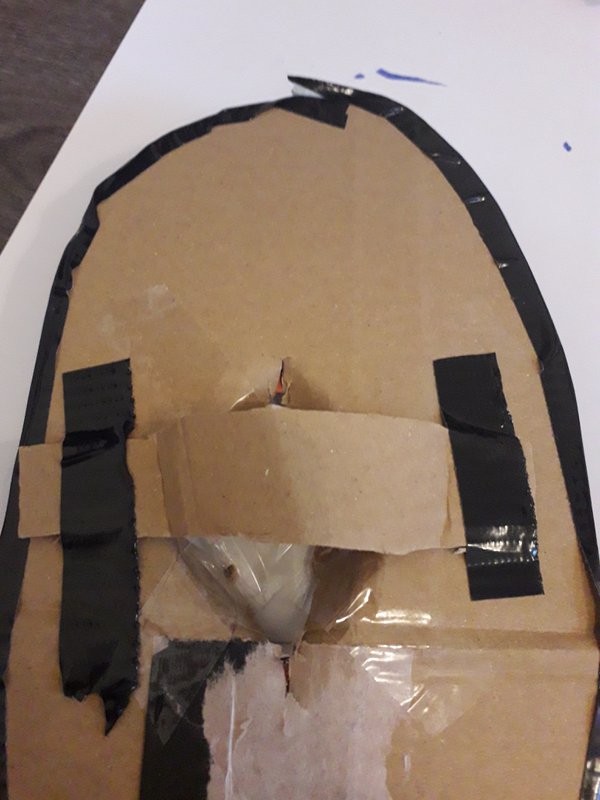
When you’ve finished decorating, turn your shield over and add a strip of card to the back to make a handle.
Step 7
Now it’s time to practise your Roman soldier moves!

Challenge yourself
How long can you march on the spot with your shield for? New recruits to the Roman army had to complete 25 mile marches in 5 hours!
Download the activity
If you would like to have a printout of the activity, please download the PDF here


