Exploring Roman Patterns
Make a Roman brooch
Patterns used as decoration
This activity is also available in PDF format which can be downloaded and printed out. Please click here
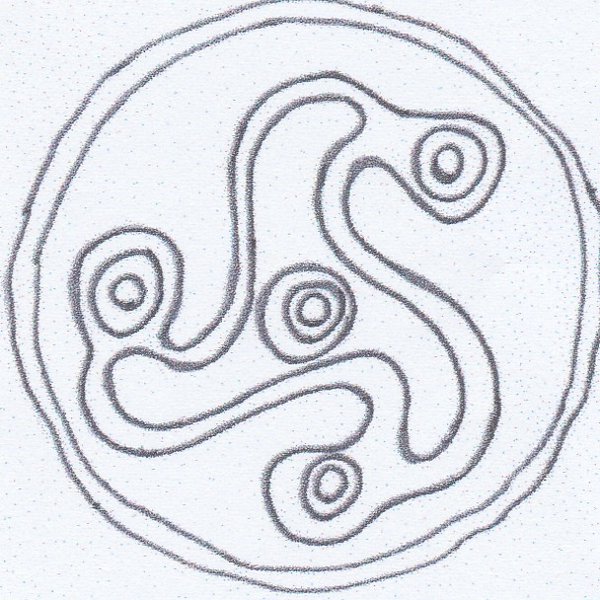
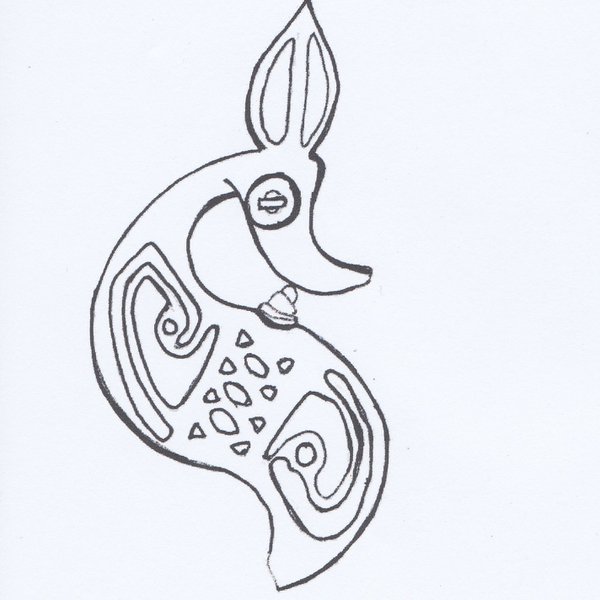
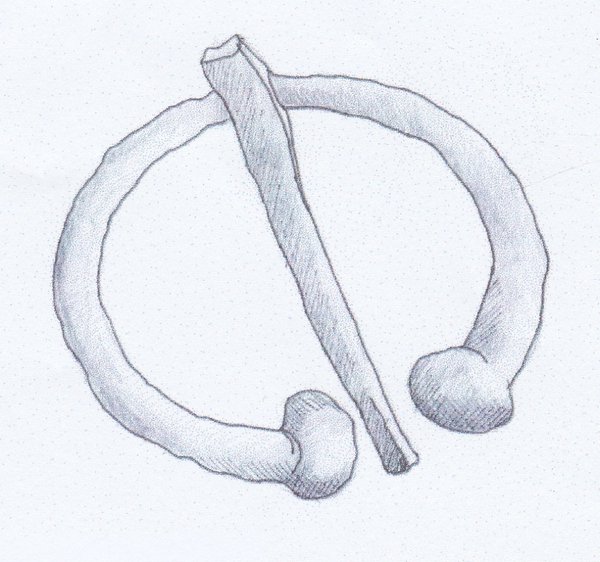
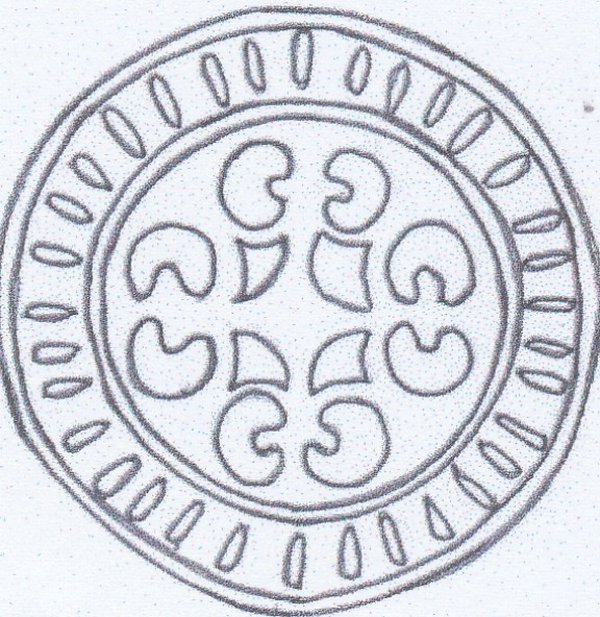
Archaeologists are sometimes lucky enough to find Roman objects that have been finely decorated.
These drawings by artist Simon Terry are of metal objects that have been found by archaeologists working at Segedunum Roman Fort and feature brooches and a fastening from a horse's harness.
Create your own Roman brooch - step-by-step
Can you use materials around your house to make your own Roman brooch or belt design? You can use these drawings to help you.
You could use:
- An old lid
- A small piece of tin foil
- Cardboard
- Wax crayons
- Coloured pens
- Scissors
- Glue or sticky tape
- Old nail varnish (remember to ask first and put some old paper underneath your lid!)
Step 1
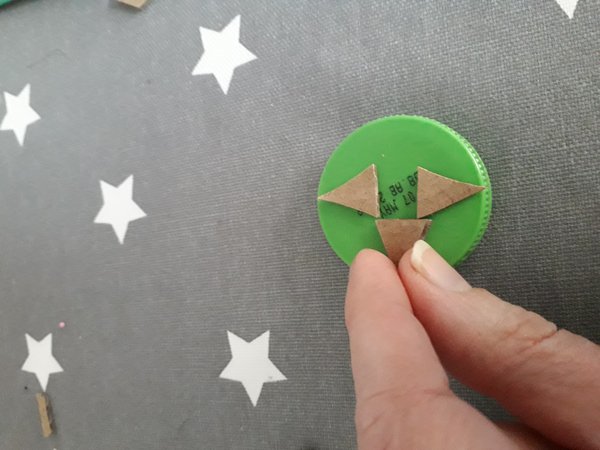
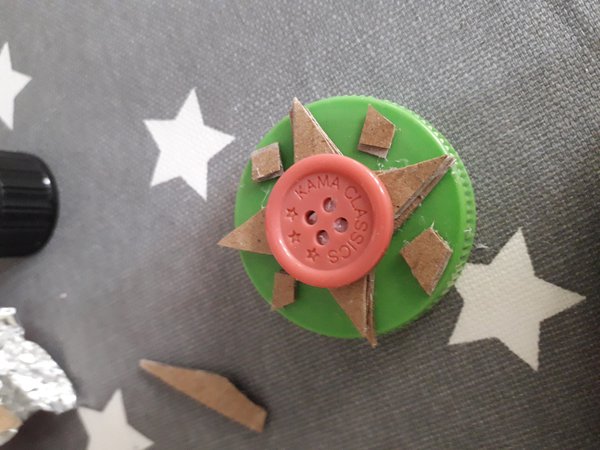
Cut out cardboard shapes and stick them to your lid to make the pattern on your brooch.
If you have an old button or bead, you could stick this in the centre of your design.
Step 2
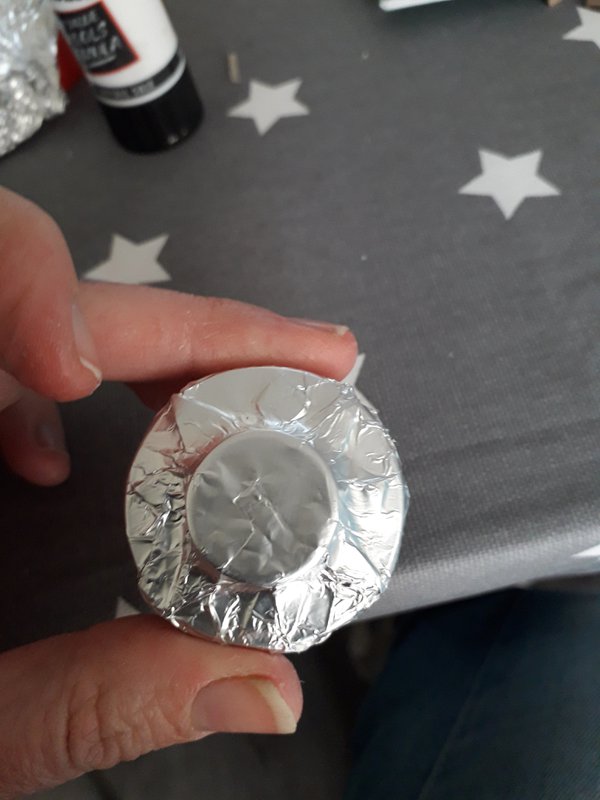
Cover your lid with tin foil and gently rub the surface until you can clearly see your pattern.
Step 3
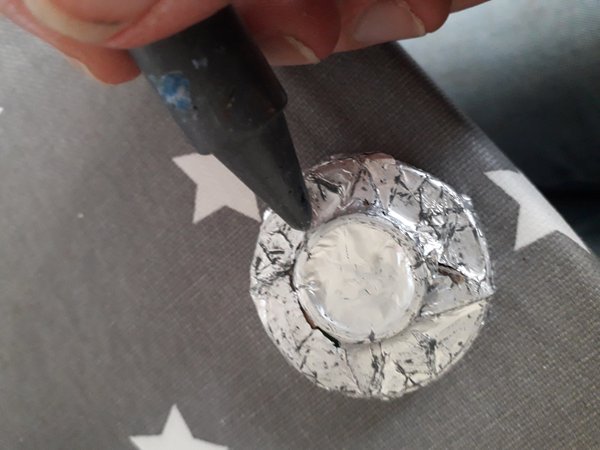
Rub over the surface of your pattern very gently with a dark coloured crayon to give it that ‘ancient artefact’ look.
Step 4
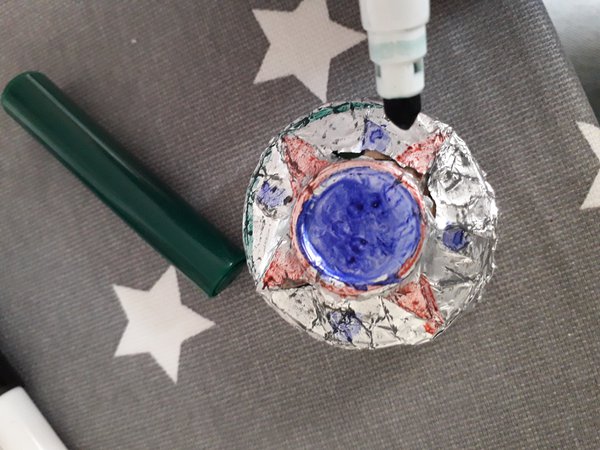
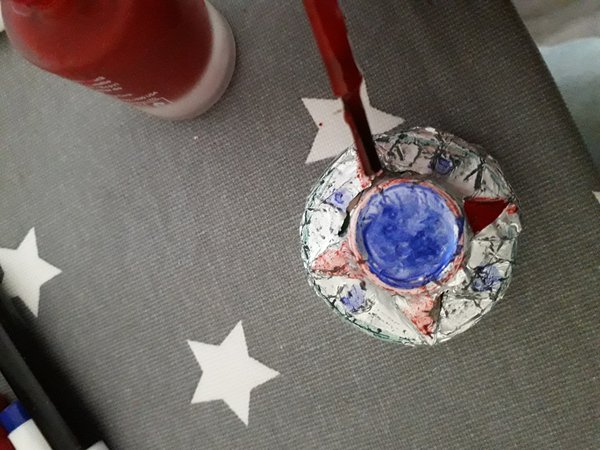
Add some colour. You could use coloured pens or even some old nail varnish. Just remember to ask first and be careful it doesn’t get on your clothes.
Voilà!
Your very own Roman brooch
Now for a little archaeology
If you’re feeling adventurous, ask someone at home to find a spot in the garden, or even in your room, to bury your brooch. Become an archaeologist and using an old paint brush, carefully try to excavate your brooch. Can you draw a map of where you found it?
Download the activity
If you would like to have a printout of the activity, please download the PDF here


